Setting Default JRE In Eclipse
From Documentation
Introduction
This document will guide you to setup Eclipse IDE use Java Development Kit (JDk) as the default compile JRE for it's projects.
Setup Default JRE as JDK
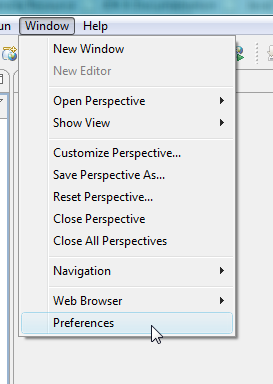
- Once you have started Eclipse, click [Window]/[Preference]:
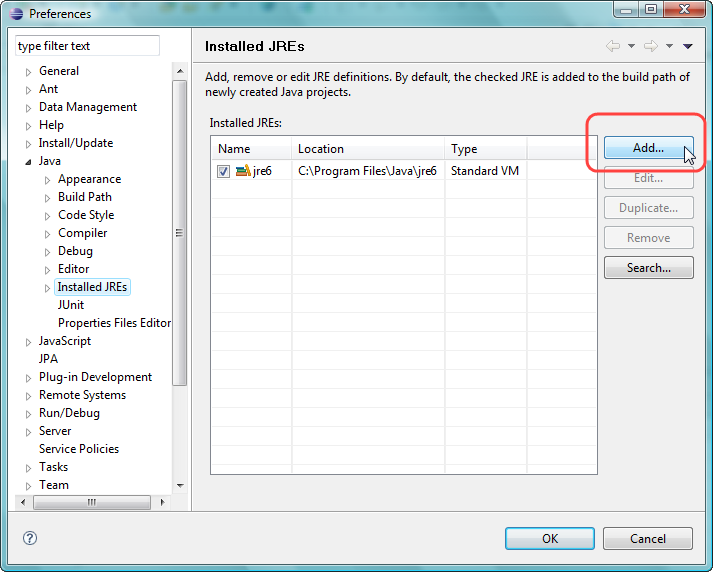
- Select Java/Install JREs on the left, click the Add... button on the right side.
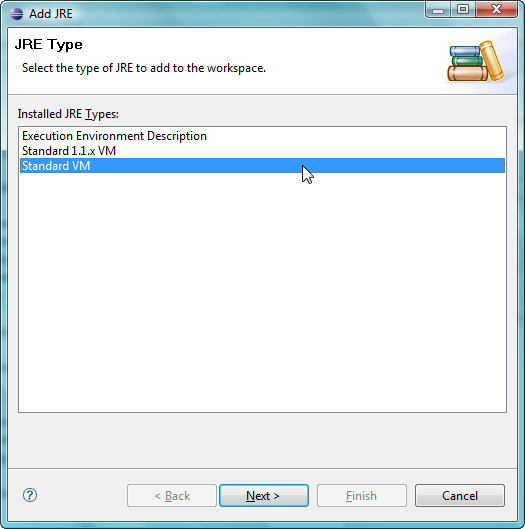
- On the first page of popup wizard, select "Standard VM", then click Next.
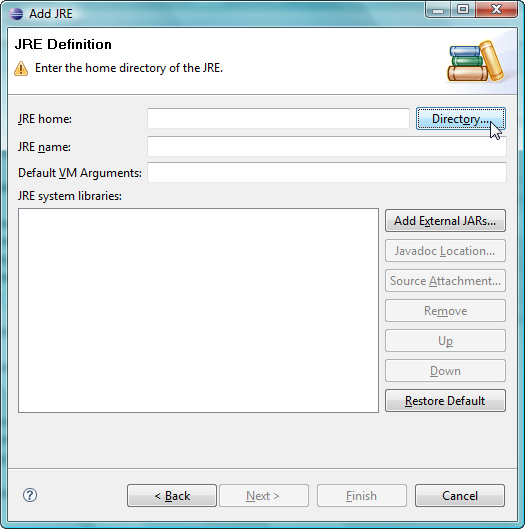
- Click Directory...,
- Select JDK's path then press OK.
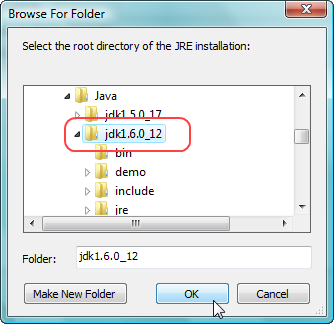
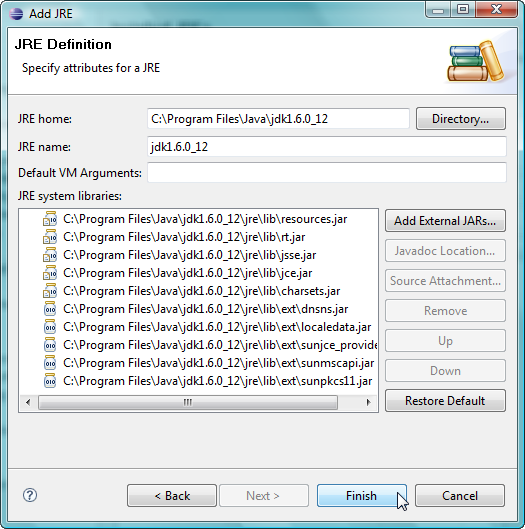
Note: on Windows 32bit machine, the default install path of JDK would be C:\Program Files\Java\jdk[version_number] - On next page, verify the the JRE name and it's System libraries are recognized properly by Eclipse itself, then click Finish.
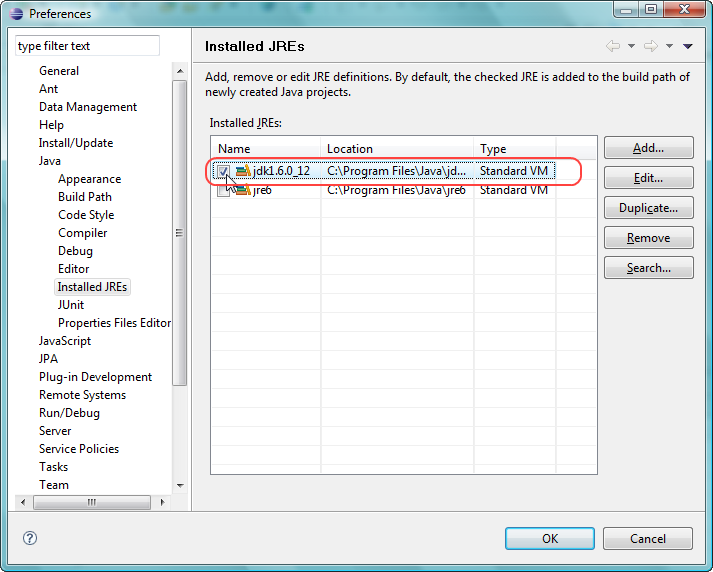
- Check the just created JRE entry on the list, then press OK.