DB Form Builder
Introduction
DB Form Builder is a Wizard to help developers generate a Zeta DB Form [1] without typing any code. Please follow Step by Step Guide or Detail explained guide for more detailed information.

Zeta DB Form Builder step by step guide
Prerequisite
1. You are required to use the Java SE Development Kit (JDK) as Eclipse's default JRE to build Java Projects, please follow the link Setting_Default_JRE_In_Eclipse to set the JDK as the default JRE
2. Be sure to finish configuring the ZK Library and define a server runtime as described in section "2. Define a Server Runtime" of this Small Talk
3. Zeta DB Form Builder is only for use with ZK Library version 3.6.0 and above
4. If you're using JDK 5, you are required to manually copy the file jsr250-api.jar to your project's \WEB-INF\lib directory
- Due to licensing issues, we cannot provide the jsr250-api.jar file with ZK Studio. Please click here and download the file "com_annotations-1_0-fr-api-doc.zip". This package contains the jsr250-api.jar file.
5. Setup the Database Connection within Eclipse, this will differ depending on which type of database you use:
*MySQL:
6. Currently the Zeta DB Form Builder does not support a table with foreign keys
Step by Step Usage
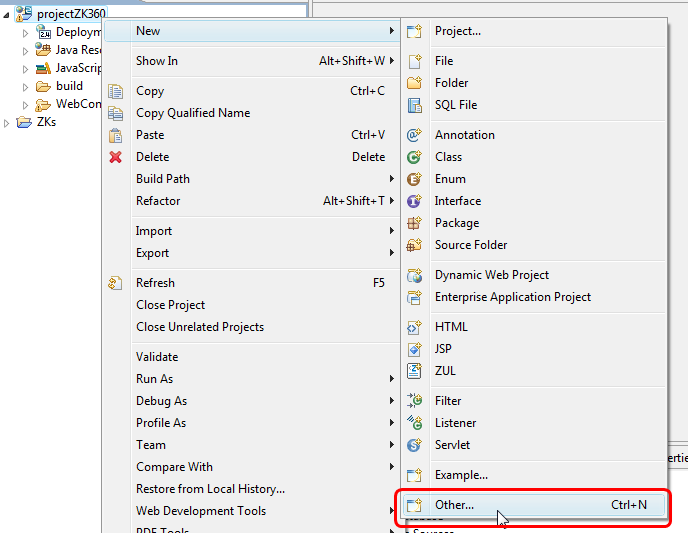
- On a dynamic web project with ZK support, right click the project and select [New]\[Other...]:
- Expand the ZK folder, select Zeta Form and then click Next .
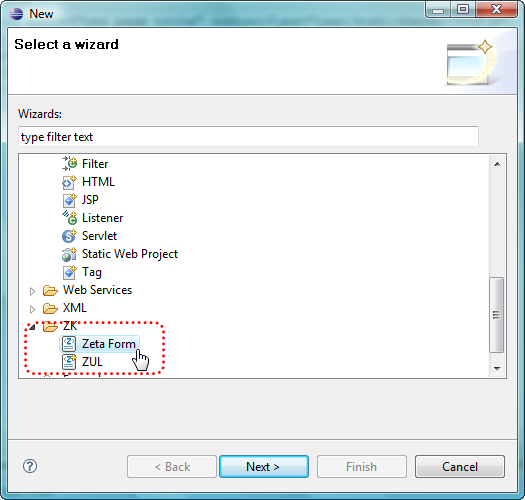
- In the wizard screen select the type of Form Builder you require, in this case it will be the 「Single Form Builder」 and make sure that the appropriate project has been selected in the drop down box, then click Finish .
 Note: A Form Builder is a way to tell zeta how to manipulate data and present in Zeta form.
 - Select a Database Profile (the Database Connection that you created in the Eclipse Data Source Explorer),
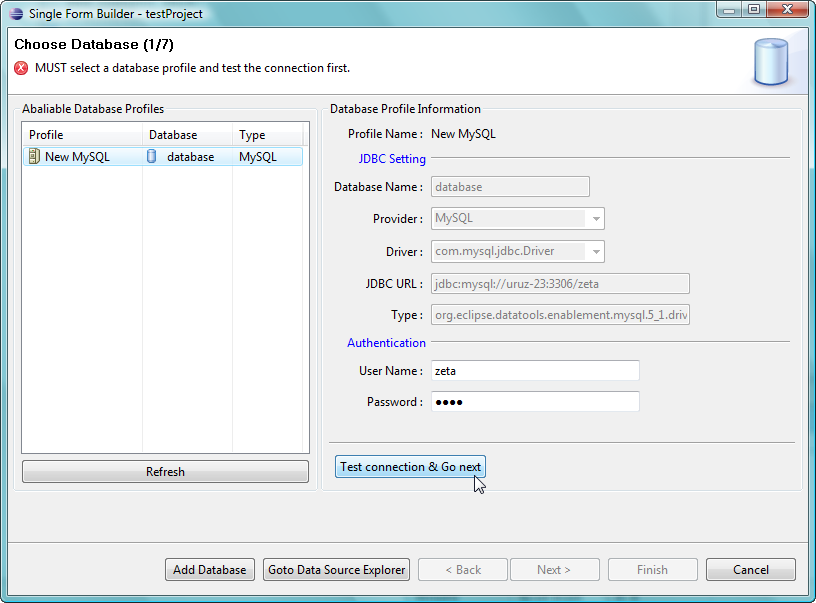
Note: If you can't see the profile that you previously added, click Refresh . - After selecting a Database Profile please make sure the connection settings shown on the right hand side panel are correct and then click Test Connection & Go next .
This action should prompt a connection successful message, click OK to continue.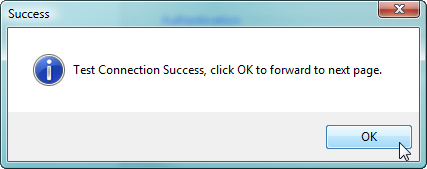
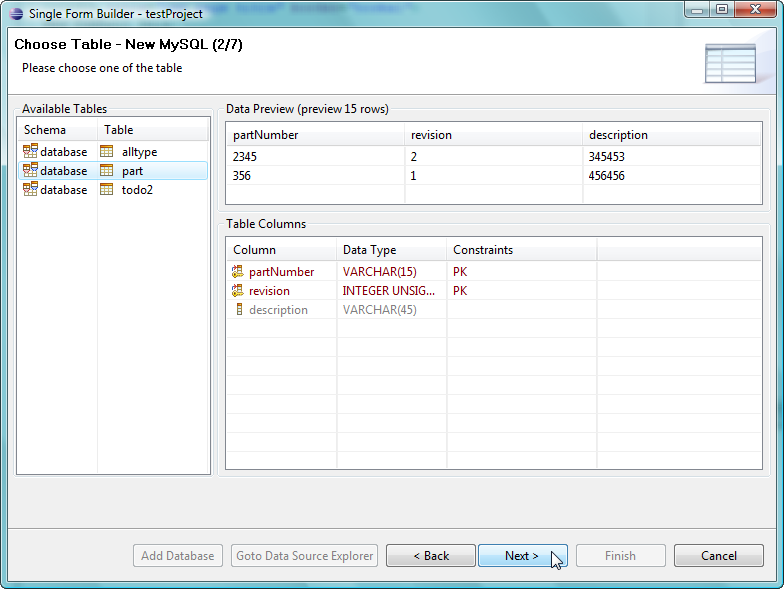
- On the next page, select the desired table from the Available Tables list on the left, then click Next > .
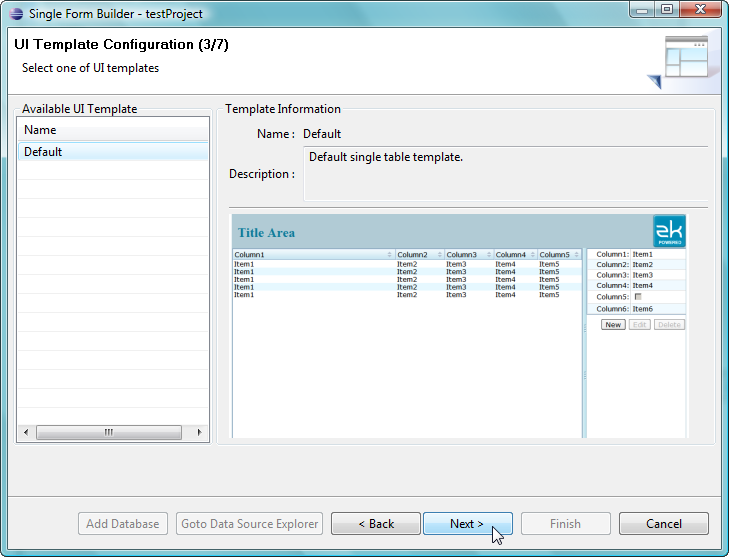
- On the UI Template Configuration page you are able to select a template from the listbox on the left. Having selected this, an example will be shown on the right hand side, click Next > to proceed.
- On the ORM Configuration page, map the data column type to the Java object making sure there are no red crosses
 in the far right column, then click Next >
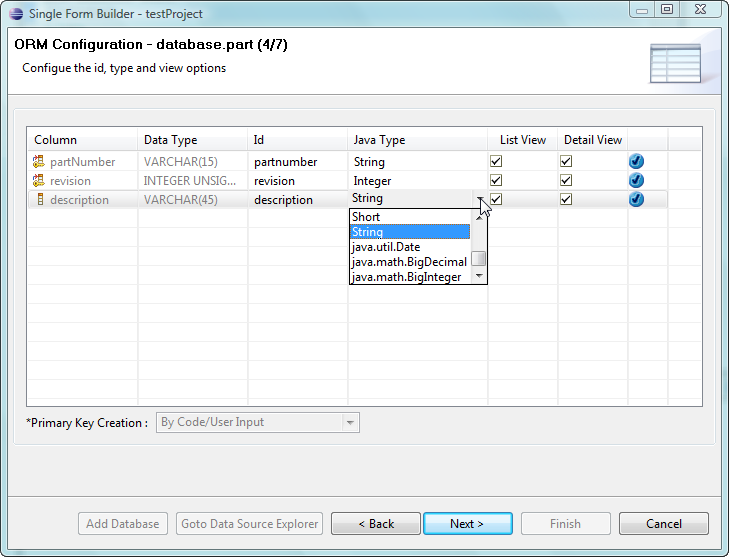
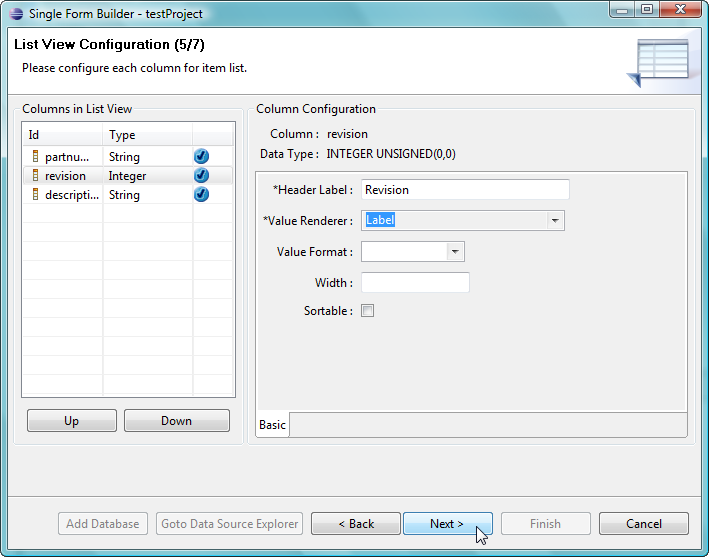
- The List View Configuration page enables you to make modifications to the mapping of columns, position of columns and the presentation of all the columns for the <listbox> view, click Next > to continue.
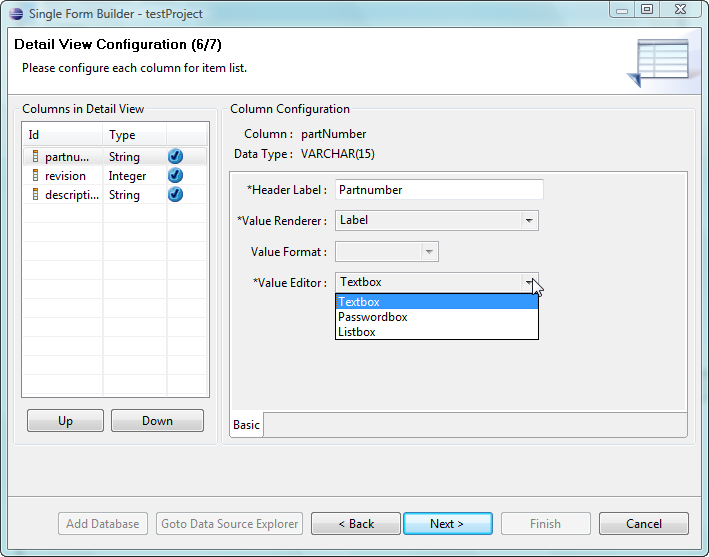
- The Detail View Configuration page enables you to make modifications to the mapping of columns, position of columns and the presentation of all the columns for the <grid> view, click Next > to continue.
- On the Other Configuration page you are able to configure the generated Java source code and some Object-relational mapping settings:
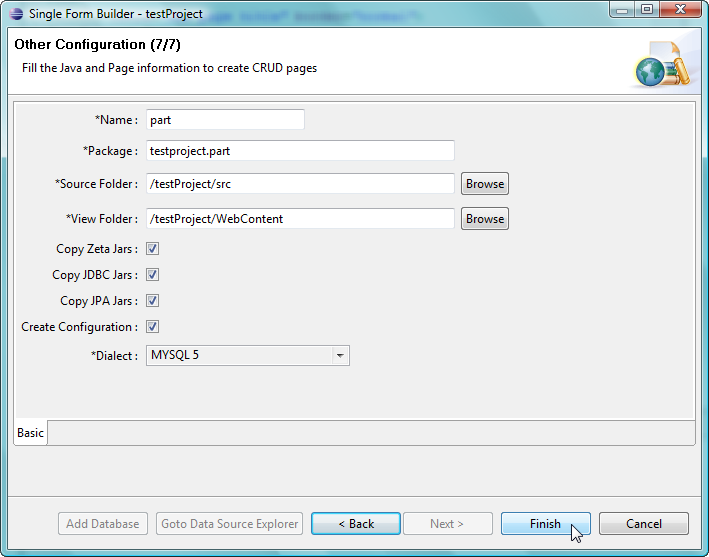
By pressing Finish , the linking code will be auto generated within the project.


Show Result
- Make sure you have set web server as depicted here : Run ZUL file
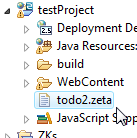
- Check if a ".zeta" configuration file which is generated by Zeta Form Builder is present in the project's folder (you can re-open this wizard by right clicking on this file and selecting [Zeta]/[Open Wizard]).
- Right click the new ZUL file and select [Run AS]/[Run on Server]:

- You should be able to see the generated Form in a browser


Note
- You can use multiple Zeta Forms on the same Dynamic Web Project, as long as the name is not the same.
- Be sure to stop the application server before running the form builder.
- Be sure to clean and rebuild your project after you generate a Zeta Form.
- For detailed explanations of each configuration page, please see the detailed explanation guide.
See Also
Zeta DB Form Buider detailed guide
see Zeta_DB_Form_Buider_Detail_Guide
Note: Zeta DB Form Builder is for ZK version 3.6.0 and above only.